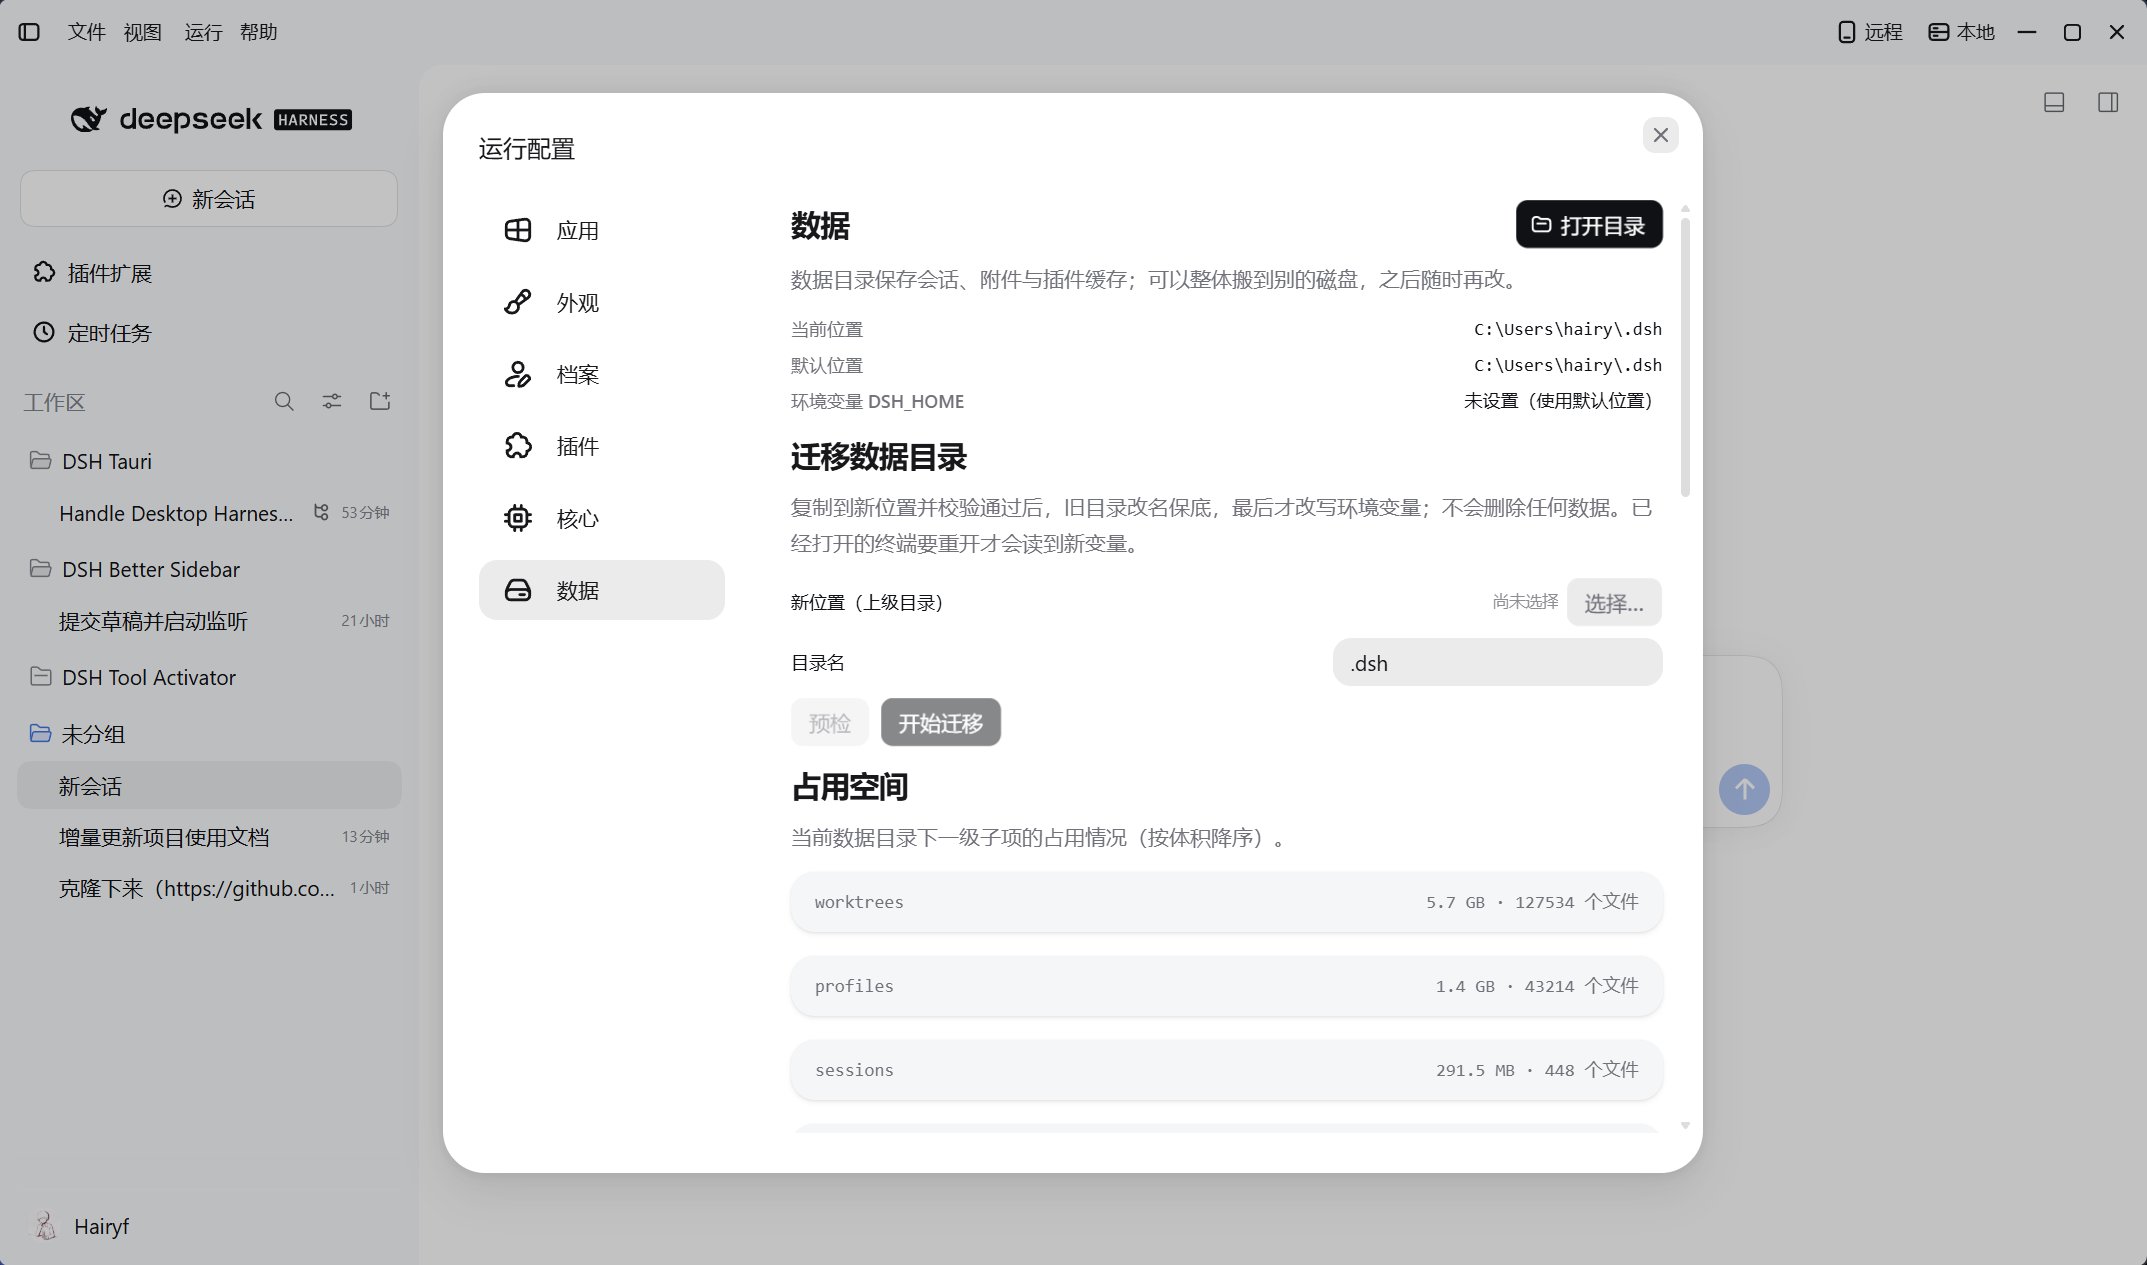
Open Running → Data Directory in the desktop title bar to check the current location and disk usage. See Profiles and cores for profile configuration and migration, or Data, privacy, and security for default data paths.
Data Directory page showing the current location, DSH_HOME, migration controls, and disk usage

Migrate the data directory

Release builds on Windows, macOS, and Linux support migration. Debug always uses ~/.dsh.dev and does not support this operation.
  1. Save your work and close other desktop, CLI, and Web clients using the directory.
  2. Choose the destination’s parent folder. Enter a folder name or leave it blank to keep the current name. Select Dry run and check the source, destination, and free space.
  3. Select Start migration and confirm. The app stops the local service, copies and verifies data, renames and retains the old directory, then updates the user-level DSH_HOME.
  4. Wait for completion and verify sessions, profiles, and plugins. Reopen existing terminals to pick up the new variable.
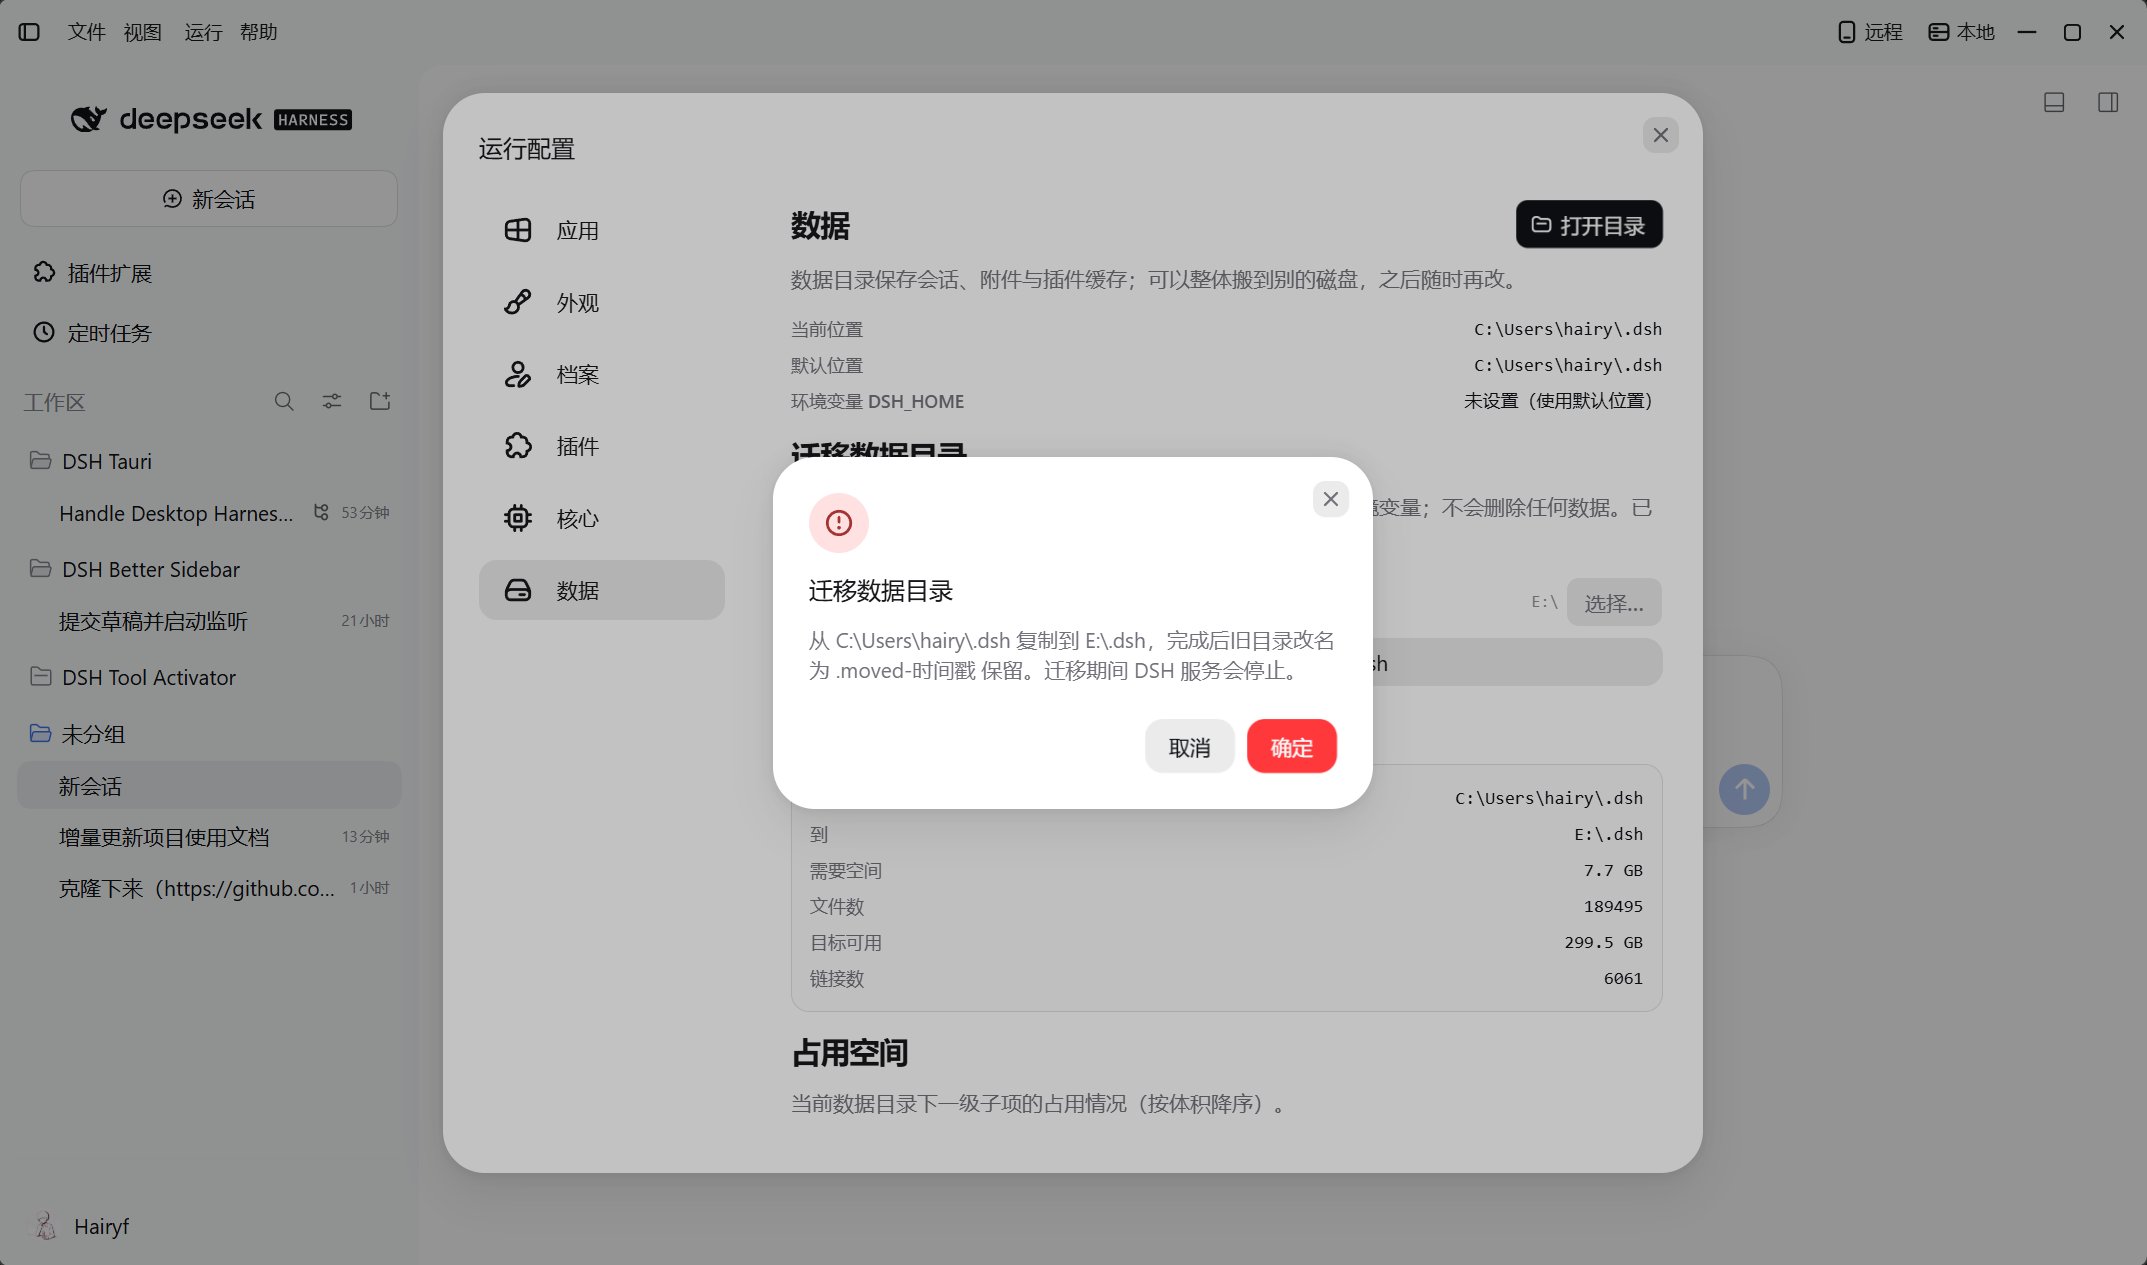
Data directory migration confirmation dialog with dry-run results

Roll back to the old location

Select an old directory under Roll back to the old location on the same page and confirm. Current data is not deleted. If the old location contains a nonempty directory, that directory is renamed and retained first. Rollback does not merge data from the two locations. Do not delete retained directories before verification. If migration fails, record the error and check the source and destination; see Troubleshooting.