

1
Prepare dependencies
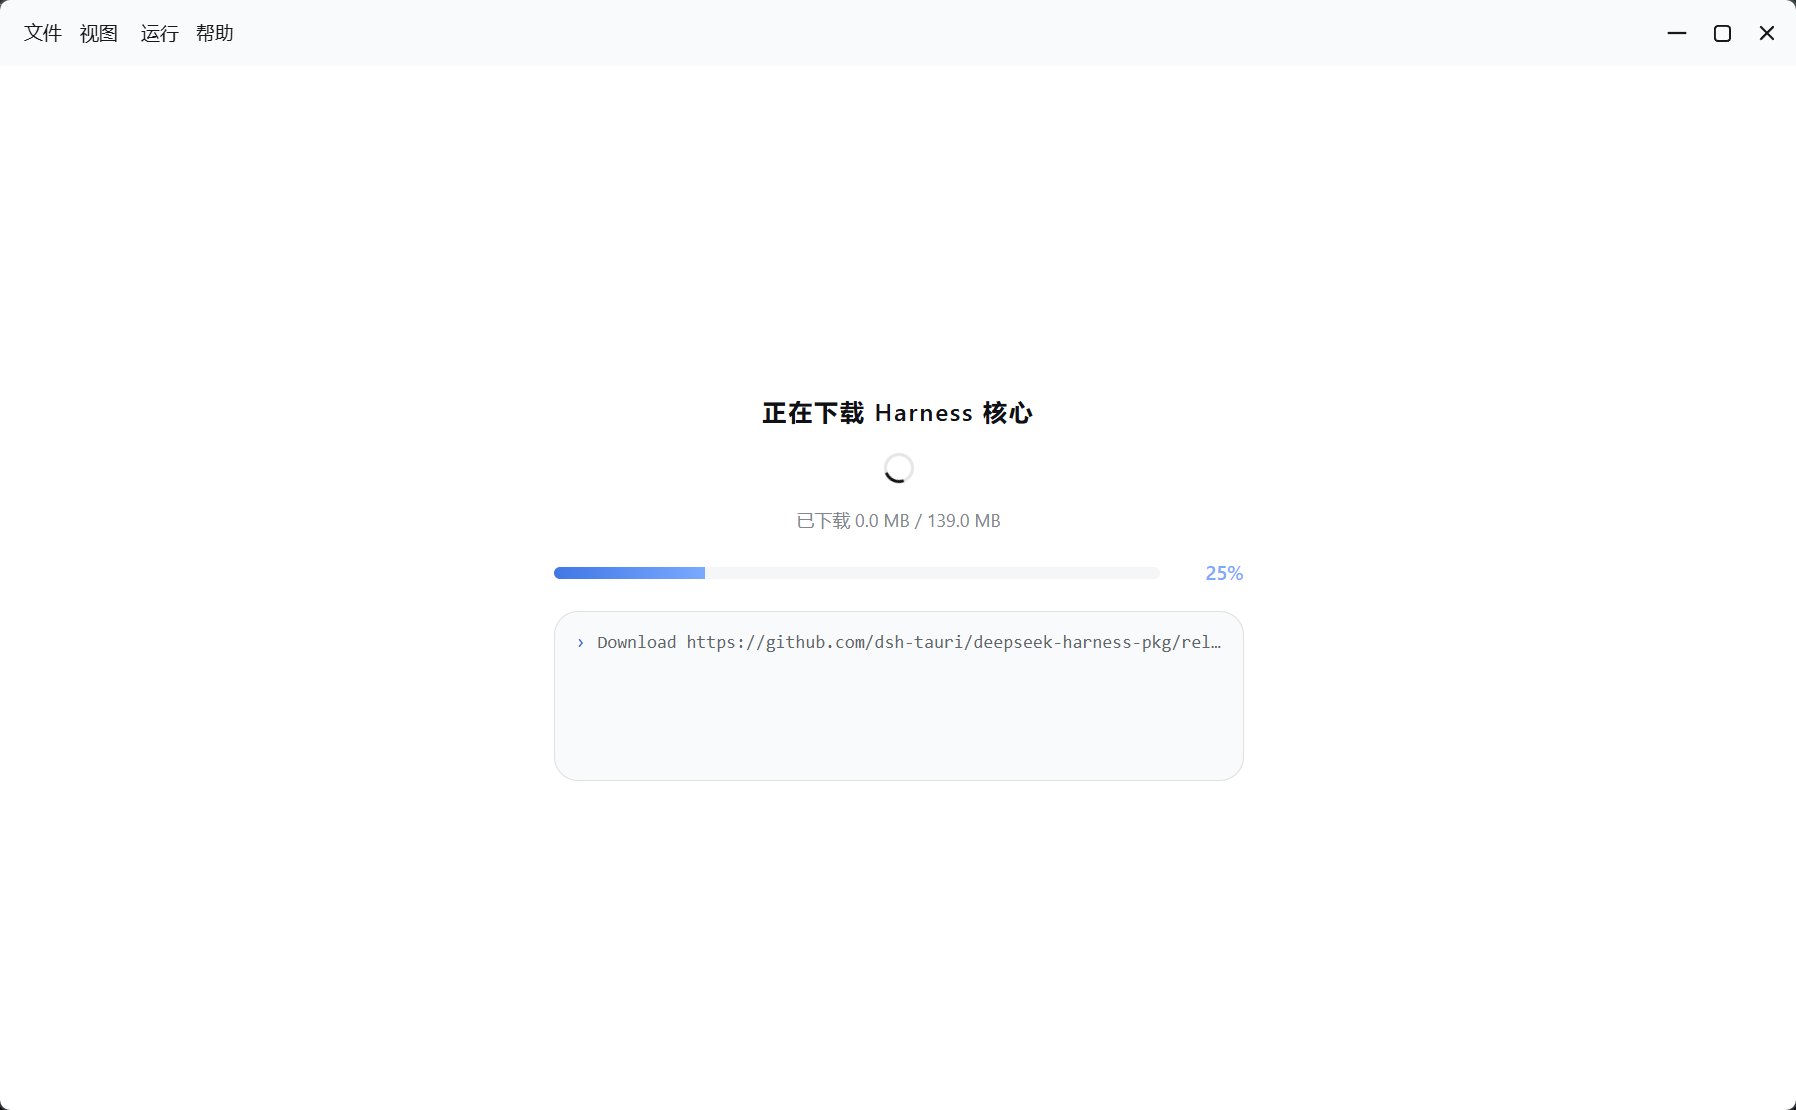
The desktop checks for compatible runtimes and downloads managed Node.js, pnpm, and a prebuilt Harness core when needed. Supported downloads can use regional fallback sources.
2
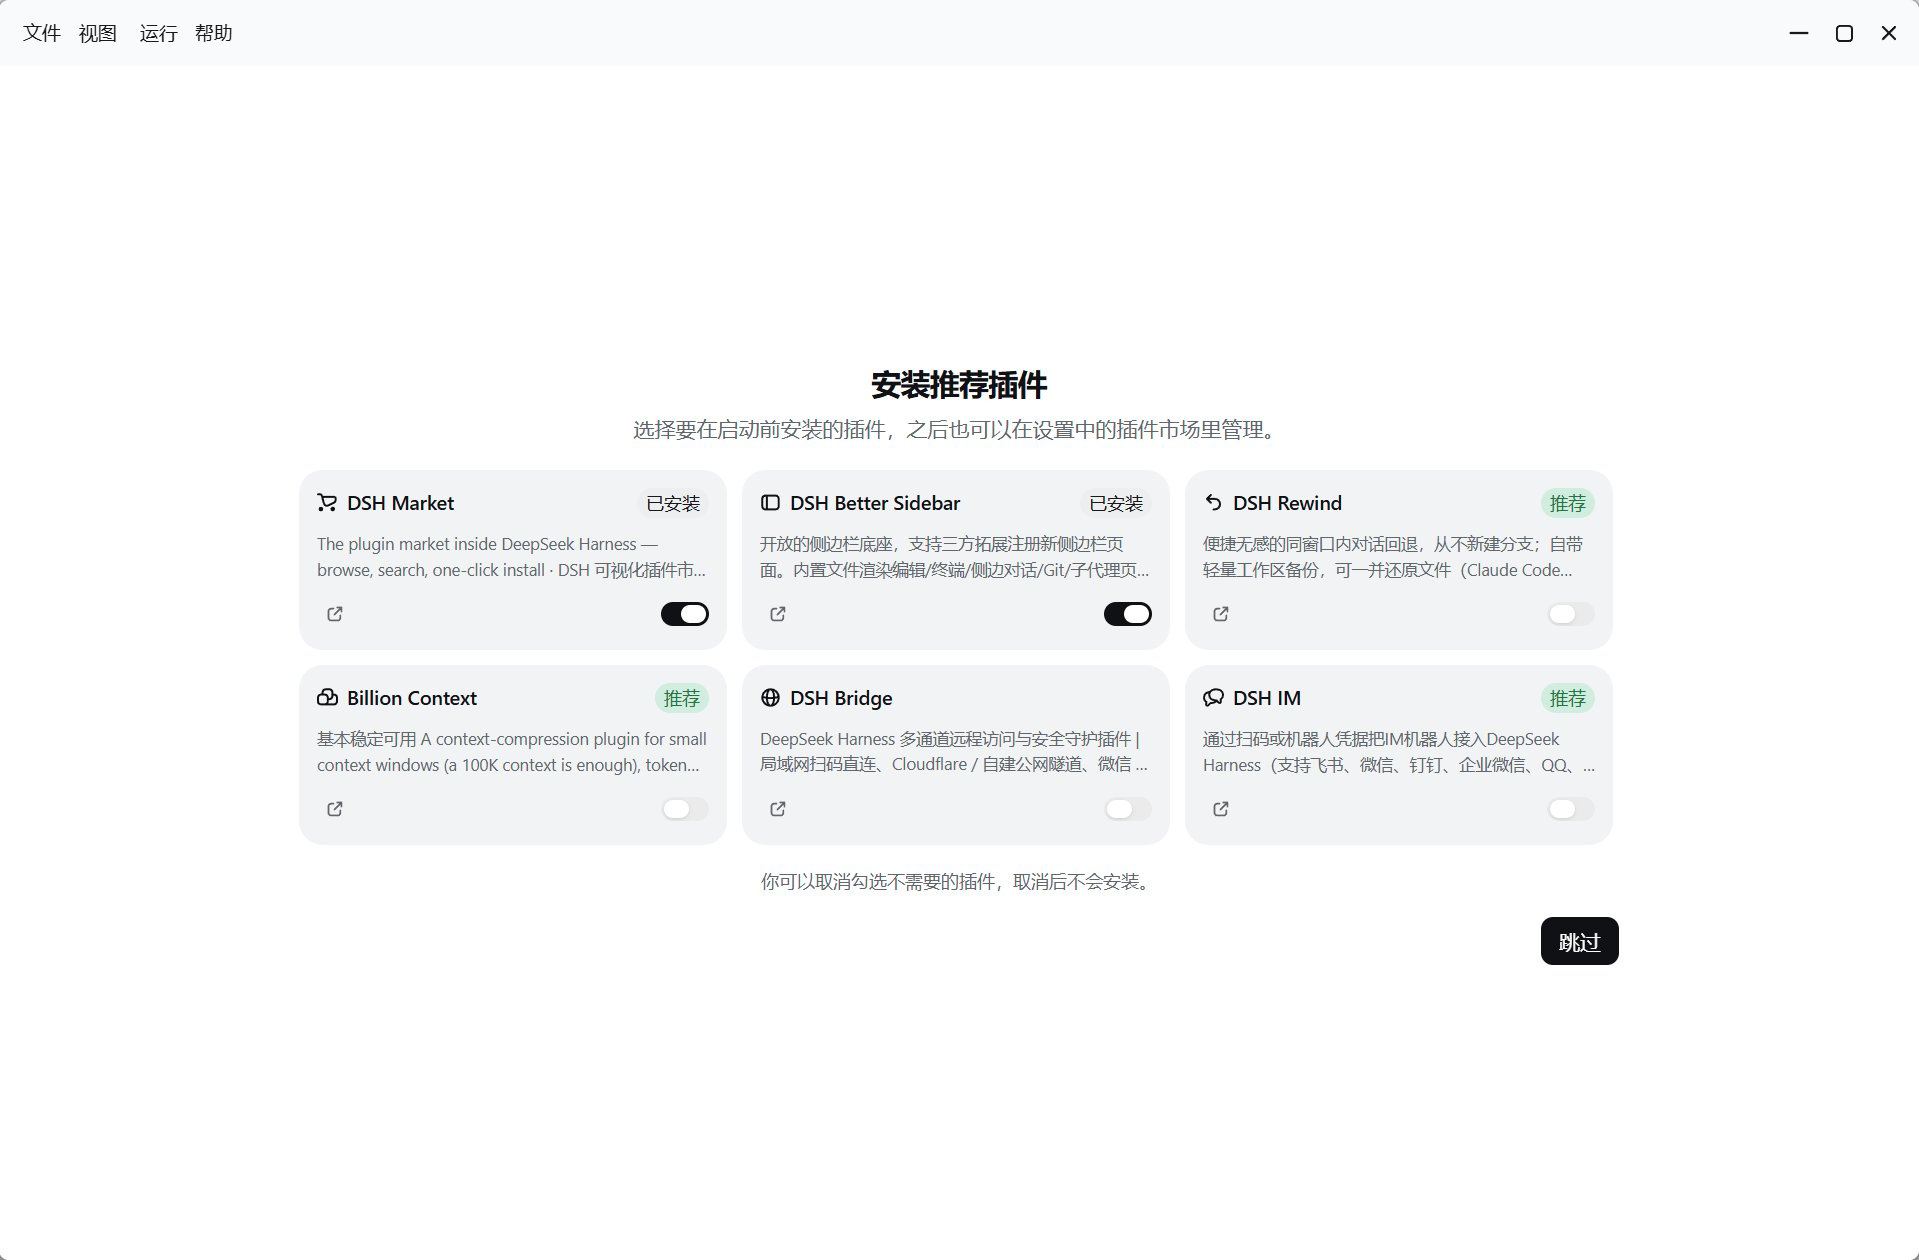
Choose optional presets
The guide offers six community presets. DSH Market, DSH Better Sidebar, and DSH Rewind are selected by default; deselect or skip them and install later through plugin management. See Plugins for the full list.
3
Open Harness
First installation creates and uses the
tauri profile. The service listens locally by default, with http://127.0.0.1:3080 as its preferred address; it can use another available port if needed.4
Configure a model
Add provider credentials in Harness Settings → Models, then select a model in the session and send a small test task.
- First-run downloads
- Choose recommended plugins
Verify setup
The window should show the Harness session interface. Release builds enable CLI integration by default; open a new terminal and run:The local service is not shared by default. For phone access, use Share at the top to enable authenticated LAN sharing or a public tunnel; see Mobile remote access. For another computer, see the Remote access plugin. Never expose an unauthenticated service directly to the internet.